🎧 Watch the Full Shooting Range Marketing Podcast
Explore all episodes in the Shooting Range Marketing Academy playlist. Learn how to start, grow, and optimise your shooting range business with tips from Solution Prime.
Let’s explore why firearm photography matters so much. The visual aesthetic of your shooting range is, without doubt, one of the most crucial elements of the initial perception your business creates. Where does a potential customer see this first? Almost exclusively on your website, where you have mere seconds—certainly no more than one or two minutes—to capture attention, build trust, and communicate value.
Visitors make an instantaneous judgement about your range based on those first images, and that perception is exceptionally difficult to shift later. This isn’t just about looking pretty; it’s about strategic market positioning.
Defining your customer through firearm photography and visuals
To grasp the impact of your photography, put yourself in the shoes of a prospective customer.
The budget buyer trap
Imagine the first photos they encounter show an outdoor, low-cost setup—perhaps a range defined by aged tyre piles, tired-looking sand bunds, and a scattering of weak grass or makeshift wooden shelters. This visual immediately telegraphs one thing: you are the cheap option.
While a low-cost positioning can be a conscious business decision, it comes with a significant trade-off. Your visitors will also be the price-sensitive ones, the customers who instinctively look for the lowest possible price, often expecting substantial discounts or heavily bundled deals. They are seeking the highest number of shots with the widest array of firearms for the smallest outlay. They rarely seek, or even notice, additional services or extra costs. This isn’t a “bad prejudice”; it’s a direct customer expectation rooted in the visual experience you have created.
The experiential market opportunity
Now consider the opposite: a high-end, pristine, and beautifully presented range—clean lines, modern facilities, and sophisticated design. This is a subtle but powerful visual cue, much like viewing the imagery of a luxury brand. Before they’ve even glanced at the price list, the visitor instinctively knows they are dealing with a premium service.
This market positioning dictates a whole new set of customer expectations. The visitor will anticipate higher prices, certainly, but in return, they will demand an exceptional level of service and a diverse, high-quality firearm selection and facility. To justify this premium look and feel, your offering must be truly unique and outstanding. You are no longer just selling a service; you are selling an experience that is worth the investment.
Photography is communication
This is why we start here. You must determine, with precision, what kind of guest you are looking for and how you intend to communicate with them.
Alongside your written copy and overall website design, your photography is a core part of your brand communication. It is the silent sales pitch that either justifies a high price point or relegates you to the discount bin. It is the visual handshake that either seals the deal or sends a potential customer straight to your competition.
Next, we need to dive into the three critical areas of photography—the firearms, the facility, and the experience—and the technical pitfalls that can sabotage even the best-looking range.
Perpendicular firearm photography process
Let’s begin with the weaponry itself. The default approach—the path of least resistance—is often to lay the firearm on a surface, typically a neutral white or black background, and take a simple, perpendicular side-on photograph. This is plain, forgettable, and, frankly, uninteresting.
Ask yourself this crucial question:
Are you creating an inventory list for your range’s stock room, or are you creating a visual desire that compels the visitor to feel,
“I absolutely must try that now!”?
The pitfalls of catalogue photography
The standard product shot—a gun resting on a plain background—presents several marketing and technical disadvantages:
1. Technical headaches & costly edits
We hope, for your sake, that the person behind the lens understood speedlights and softboxes. Photographing firearms is notoriously tricky. A polished chrome finish will reflect the white background (or any environment), while a deep matte black firearm will absorb light and lose crucial detail.

- The Problem: You end up with a large gallery of visually disconnected weapon photos. If you need to make them usable for graphics (e.g., placing them on a colourful background or in a design layout), they must be “cut out”—a pixel-by-pixel editing process that is time-consuming and expensive.
- The Trap: Relying on basic “remove background” tools is tempting, but these seldom produce the high-resolution, flawless edges required for professional web design and large format imagery.
- The Green Screen Illusion: Some businesses attempt a chroma key (green screen) solution. However, unless the green screen is perfectly lit, properly spaced from the weapon, and professionally set up, the colour spill (green reflections) on the polished metal or edges of the gun will make the cut-out process even harder than a white background.
Do not be fooled: quality, high-resolution product photography is not cheap to produce if you need extensive post-production editing. Remember, you have many firearms that each require this specialist attention.
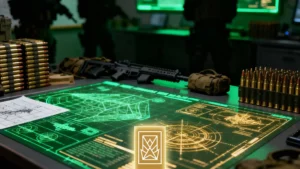
Contextual firearm photography: Integrating product and environment
You are absolutely right: the immediate, most logical step forward from those plain catalogue images is contextual firearm photography. If you run a shooting range attached to a retail space, or even if it’s a standalone facility, you already have the perfect backdrop.
The core principle here is simple: use your business as the stage.

Simple contextual staging: One shot, two hits
The beauty of placing a firearm within the range environment is the dual marketing benefit. In a single photograph, you are not only showcasing the weapon but also subtly marketing the atmosphere, professionalism, and cleanliness of your facility.
Here are a few starting points:
- The firing line: Place the firearm carefully on the bench or counter of a shooting bay (ensuring all safety rules are visibly adhered to, of course).
- The retail counter: Lean a rifle against a high-end display cabinet or place a pistol on a pristine sales counter next to branded merchandise or accessories.
- Ammunition & gear: Prop the gun near a stack of attractive ammunition boxes, magazines, or quality safety gear.

Switching on your facility’s operational lights is the starting point. By doing this, the website visitor meets the specific firearm in the same ambience and location they will experience during their visit. This simple technique immediately makes the images more engaging and relevant than a generic white-box shot.
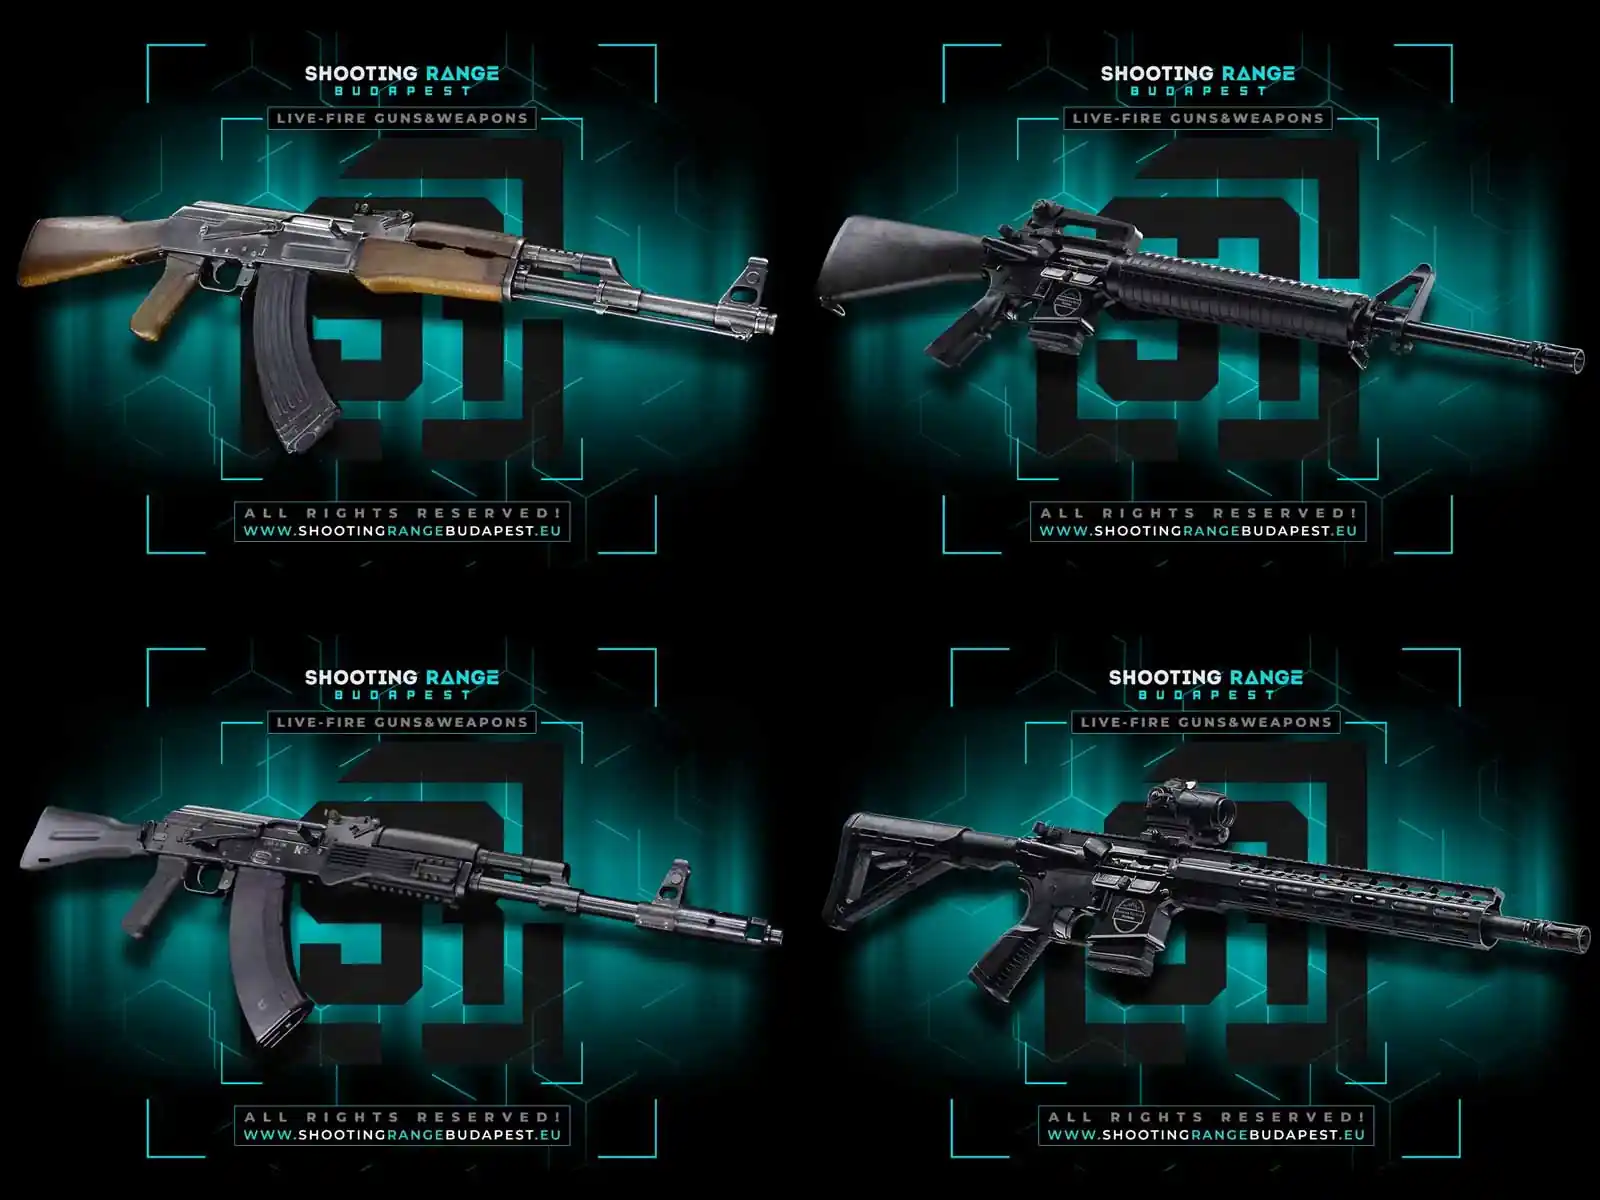
Establishing visual consistency
To further elevate your brand’s visual identity, a common strategy is to designate a specific, consistent corner within your facility.
This dedicated area would feature constant, controlled decoration, superior lighting, and perhaps a unique piece of furniture or textured wall. By photographing every single firearm in this identical environment and lighting setup, you achieve:
- Uniform Quality: Every weapon photo has the same colour temperature, lighting highlights, and depth of field.
- Professional Cohesion: The entire gallery on your website looks perfectly aligned, strengthening your visual brand appearance and communicating attention to detail.
Why this is still only “One step forward”
However, as you rightly point out, this contextual approach—while a vast improvement—still has limitations, particularly when it comes to sophisticated graphic design work.
- No Easy Cut-Outs: You will not get those coveted transparent background images needed for complex advertising graphics.
- Designer’s Nightmare: Including even a small, seemingly insignificant foreground detail—a piece of textile, the edge of a glove, or a magazine—that slightly obscures the firearm creates a nightmare for graphic designers. Rebuilding that covered portion of the gun pixel-by-pixel is highly costly and time-consuming.
Contextual photography is a huge step towards engaging visuals, but it often sacrifices the flexibility needed for high-end digital advertising campaigns.
This leads us to the expert-level solution: harnessing technical creativity to deliver both stunning context and superior quality.
Our expert Solution: The high-authority, low-footprint firearm photography method
After identifying the shortcomings of both generic catalogue shots and limited contextual photography, our challenge was clear: how do we create visually stunning, flexible, and repeatable results while respecting the operational and legal constraints of a working shooting range?
The initial breakthrough: Light painting as a replication tool
Several years ago, we sought out the top-tier photographic talent, utilizing extensive studio lighting rigs—dome lights, multiple key lights, and a host of softboxes. While the resulting images were undeniably stunning, a practical problem emerged: when the specialist team was unavailable for subsequent shoots, we were left with visual inconsistency.

With over 80 existing firearm photos that set a high visual bar, and a further 20 required, a full reshoot with a different setup was simply not an option. We had to find a way to replicate that studio-quality light with vastly reduced equipment.
Our immediate solution was to downsize the gear to just two speedlights with softboxes, two key lights, and one background light. By directing the shoot ourselves, we employed a kind of modified light painting technique. We took multiple exposures of each firearm, positioning the lights differently for each shot. This allowed us to digitally composite the best highlights and details later, effectively painting the image with light.
The game-changer: Mobility and legal compliance
While this “light painting” approach was technically brilliant, it remained somewhat cumbersome. The true breakthrough came from addressing the fundamental constraints of our industry: logistics and compliance.
UK legislation and range security protocols mean that firearms cannot be easily transported off-site to a conventional studio. Furthermore, range owners rightly prioritise operational uptime. We must come to the firearms, and we must do so with minimal disruption.
This led us to simplify the equipment down to its bare essentials: a DSLR camera body and a simple, battery-powered, white LED work light. This highly portable setup allowed us to conduct a professional shoot anywhere on the premises quickly and safely.

The Solution Prime concept: Dynamic perspective and perfect cut-outs
Our streamlined methodology allows us to create dynamic, high-resolution images that offer unparalleled graphic design flexibility:
- Hanging and angles: We subtly suspend the firearm or mount it in a secure jig. We then shoot the weapon at a strategic angle. This perspective eliminates the boring flatness of a straight side-on photo, creating dynamic depth without introducing excessive distortion that compromises the weapon’s appearance.
- Working in the dark: By working in a dim or dark environment and using a high f-number (around to ), we maximise the depth of field. This means long guns remain perfectly sharp from muzzle to buttstock without the need for complex and time-consuming focus stacking techniques.
- Light painting with a single source: We use the single LED light to take 4-5 separate shots of the firearm, manually moving the light source with each exposure to precisely highlight different contours, serial numbers, and textures.
The Graphic Designer’s Champagne Moment
The final, essential step is our specialised cutting process. Because the firearms are captured using controlled lighting in a dark environment, the resulting transparent background images are flawless.
This provides the range owner with a perfectly cut-out, high-resolution asset that can be placed seamlessly onto any website banner, social media graphic, or print advertisement. Your graphic designers will genuinely thank you—they gain the ultimate freedom to position and angle the weapon above any background, ensuring consistency across all your marketing channels.
Capturing your facility: Selling trust and professionalism by firearm photography
Once the firearms are covered, we must focus the lens on the business itself. The imagery of your facility is vital, as it sells trust, safety, and operational excellence before a customer ever steps through the door.
External views: The curb appeal conundrum
Photographing the exterior of your range can be a deceptively tricky assignment. The goal is to present a professional, welcoming facade that encourages a booking.
- The weather challenge (The UK reality): You’re absolutely right—finding the perfect weather (a few scattered clouds for visual interest, without a wet, reflective surface) can feel like mission impossible in the UK! However, good photography compensates.
- Mandatory shots: Our recommendation is simple: scout the location to find the best profile of the building. Capture a shot from each corner and a dead-on front elevation. These mandatory shots establish the range’s physical presence.
- Framing is key: Do not crop too tightly. Allow some “breathing room” on all sides of the building. Position the range centrally within the frame, but use the surrounding space to add context, not clutter.
- The details that matter: Once the essential wide shots are done, focus on key details: the entrance signage, visible banners, and the well-organised parking spots. Every detailed shot must include your logo or name to reinforce your brand identity.
Pro lighting tip: Eliminating the glare
A massive problem with exterior shots is the dynamic range (the difference between the brightest and darkest areas). A single shot often leaves the sky ‘blown out’ (overexposed) or the entrance shadows too dark. Our advanced tip is to use a tripod and take multiple exposures (e.g., one low, one medium, and one high). These can then be digitally blended in post-production to eliminate out-burn and dark shadows, resulting in a perfectly balanced, professional image.
Internal spaces: Selling the experience before the shot
Inside the facility, you need to think precisely about the customer journey. What does the guest see first?
- Shot checklist (Reception, Lounge, Café): Every functional area—the reception desk, the comfortable waiting area, and the lounge—must be documented. If these areas are smaller, use a wide-angle lens creatively, but beware of excessive distortion.
- The rule: To ensure comprehensive coverage, adopt this systematic approach: for every key room, shoot from all four corners. From each corner, capture three different perspectives:
- Frog Perspective (Low): Adds depth and scale, making the space feel expansive.
- Eye-Height (Natural): Replicates what the customer actually sees.
- Tall-Height (Operational): Offers an overhead view of the layout. This gives you 12 base photos per room, allowing you to select the absolute best angles.

Operational readiness: The golden rule
Crucially, before every internal shot, you must conduct a thorough “Operational Readiness” check. Take out the bins/trash, straighten the magazines on the tables, and eliminate clutter. Your photos must communicate an excellent, impeccable environment, which reflects the quality of service your guests will receive.
The shooting sector: The trophy shot of firearm photography
This is where the magic happens and where your investment pays off. The firing lane and the overall shooting sector should be your “trophy” image.

- Initial coverage: Start with the corner technique to get your mandatory shots.
- The wallpaper shot: Now, identify the range’s most impressive feature—the one you are most proud of. This must be the image that serves as your website’s hero banner or your press headline photo.
- Techniques: For this one, you can deploy the multiple exposure or the single-light painted techniques we discussed earlier to capture dramatic light and perfect detail.
- Preparation: Clean, clean, clean. Place fresh targets, perfectly align all equipment, and ensure the entire environment looks instantly welcoming and safe. This photo must scream professionalism and be the one image that justifies your premium pricing and service.

Capturing the experience: The life of the range
We’ve established how professional photos of your facility and firearms sell trust and quality. However, the most potent factor that drives bookings is capturing the life and atmosphere of your shooting range. This is the experiential factor that makes your whole marketing effort worthwhile.
Your range is a place of satisfaction—whether that comes from the intense focus of a competitive trainee or the pure joy and wide smile of a first-time tourist trying real shooting. You need imagery that captures these candid, compelling moments: the genuine smiles, the intense focus, and the unique, happy memories your guests are creating.

Navigating GDPR and the right to image
Before you can capture this vital content, you must navigate the legal landscape. This is a non-negotiable step:
- The kind request: Even if you have a blanket policy or sign posted that guests agree to be photographed, the professional and legally sound approach is to kindly ask each guest for explicit consent before taking their photo. Be honest: you intend to use their image for business promotion. This small, respectful step avoids potential future complications and builds immediate rapport.
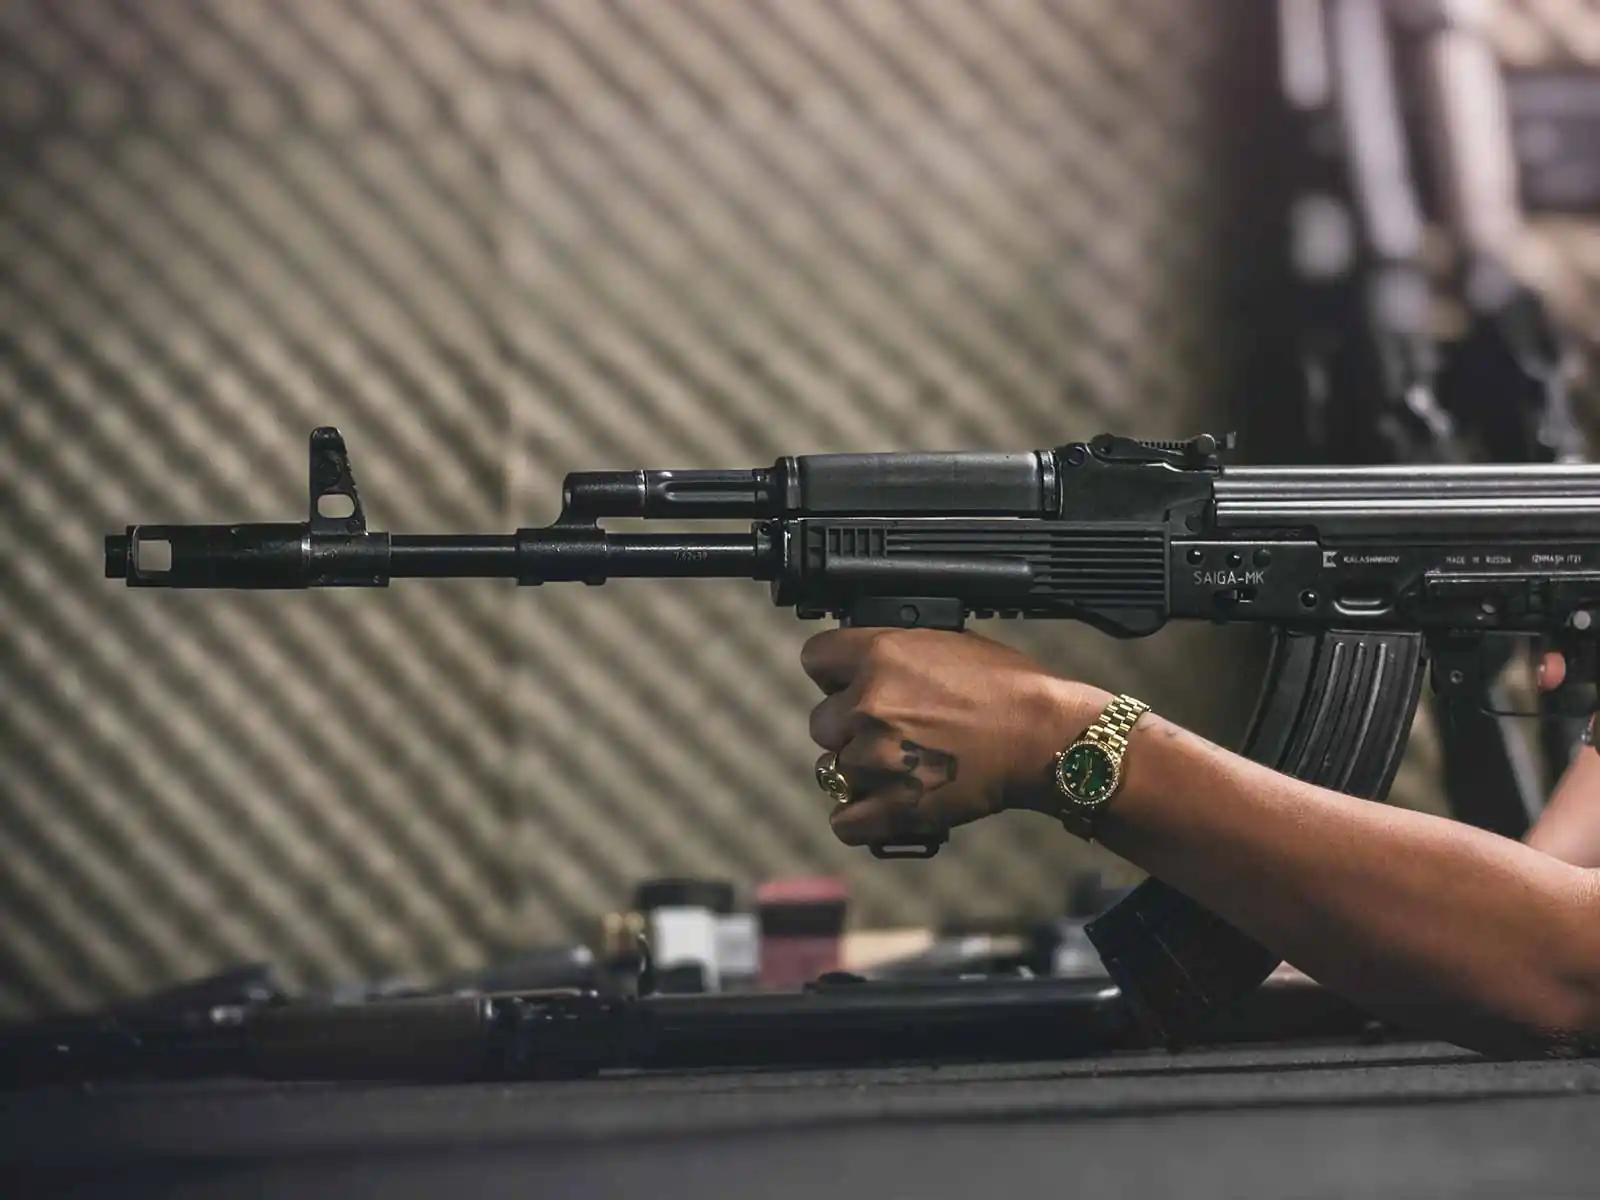
- The unrecognisable advantage: For maximum content flexibility, leverage shots where the person is not recognisable. A photo focusing on the firearm, the hands, or the target—taken from behind or below the shoulder—allows you to use that asset freely in any advertisement without needing specific, documented consent for that individual.
Maximising content variety
You will need a high volume of quality images to keep your social media and website fresh. You can maximize your returns from each willing guest:
| Shot Type | Focus | Marketing Use |
| The “Hero” Shot | Wide-angle, chest-up, clear face, showing intense emotion or joy. | Website testimonials, primary social media posts. |
| The “Action” Shot | Shoulder-up, taken from behind, focusing on the firearm, hands, or the muzzle flash. | Lead generation ads (unrecognisable), demonstrating safety equipment use. |
| The “Detail” Shot | Extreme close-up of a hand, a spent shell casing, or a target grouping. | Instagram stories, supporting blog content, highlighting proficiency. |
By taking at least three variations per guest, you minimize the risk of your content appearing repetitive across different marketing platforms.

The most crucial factor: Safety and authority
In the firearms sector, images of people can either sell professionalism or instantly destroy your authority. You must be your own most rigorous safety checker:
- Finger placement: This is paramount. Every visible finger must be clearly seen off the trigger and resting along the frame unless the shooter is actively engaging the target.
- Muzzle direction: The barrel of the gun must never be pointed in an unsafe direction (i.e., not downrange). This is non-negotiable.
- Personal Protective Equipment (PPE): Eye and ear protection must be visibly and correctly worn in every action photo.
For tourist or first-timer photos, the shooter’s posture might not be competition-grade, and that’s generally acceptable for marketing the fun experience. However, the basic safety rules—muzzle direction, finger placement, and PPE—are mandatory. Any image that violates a fundamental safety rule is a direct threat to your brand’s reputation and must be culled immediately.
You are selling a fun experience, but you must photograph it as a safe and expert operation.
Knowing your tools: Mobile phone vs. Professional camera assets
You’re absolutely correct: not all high-quality images are created equal. The tools you use dictate not only the final aesthetic but, more importantly, the marketing channels where those images can be effectively deployed. Understanding the distinction between a mobile phone photo and a professional camera image is crucial for cost-effective content creation.
Firearm photography by smartphone: The content generator
Modern smartphones are exceptional for capturing life quickly and easily. They are your best friend for real-time engagement and fleeting moments.
| Smartphone Asset | Best Use | The Technical Caution (The Problem) |
| Social Media Stories (Instagram, Facebook) | Quick, timely updates, behind-the-scenes looks, immediate safety briefings. | Low PPI/DPI: Resolution is often sufficient for the web, but not for print. |
| Daily Social Posts & Micro-Content | Content that needs high frequency and a casual, authentic feel. | Software Oversharpening: Mobile cameras heavily rely on software to “fill in the blanks,” which often looks fuzzy or pixelated when zoomed in or printed large. |
| Website Thumbnails | Small, cropped images on a product listing page. | No Print Viability: Using these for high-resolution print products will result in a visibly blurry, pixelated mess. |
The Bottom Line: Use your mobile phone for authenticity, immediacy, and speed. It’s brilliant for building community, but it is a poor choice for brand-defining assets.
Firearm photography by professional camera (DSLR/MILC): The authority builder
When we speak of professional output—the images that define your brand’s quality—we are talking about cameras with full-sized sensors (DSLR or Mirrorless, often abbreviated as MILC). These cameras capture vast amounts of data, providing the detail, dynamic range, and resolution necessary for large-scale marketing.
| Pro Camera Asset | Best Use | The Technical Advantage (The Solution) |
| Large-Scale Print (Roll-ups, Flyers, Billboards) | Marketing materials that require crisp, high-detail imagery at a distance. | High Native Resolution: Provides the necessary DPI (Dots Per Inch) resolution for print without losing detail when enlarged. |
| Website Hero Banners & Landing Pages | The primary visuals that must convert visitors into customers. | RAW Files: Captures rich, uncompressed data, allowing a graphic designer to make extensive, non-destructive colour corrections and adjustments. |
| Editorial & PR Use | Images sent to magazines, newspapers, or industry publications. | Detail Retention: Even under tricky low-light conditions (like an indoor range), the sensor captures the nuance that is lost to a smartphone’s processing software. |
The graphic designer’s dilemma: This is where the difference becomes critical. A graphic designer can take a professional image, zoom in heavily, crop it, and still use it for a high-quality print flyer. Trying the same with a phone image results in a digital blur. By investing in professional photography, you are investing in marketing longevity and versatility.
Ultimately, knowing your tools means knowing where to spend your marketing budget. The guns, the facility, and your best action shots require the detail and resolution of a professional machine, ensuring your brand looks exceptional, whether on a tiny phone screen or a massive printed banner.
Return of your investment – Firearm photography
Now you have a full inventory of stunning, safety-compliant assets. Where should you use them first to ensure an immediate return on your investment?
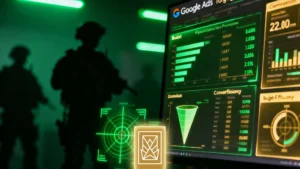
1. Your digital shop window: Google Business Profile (GBP): The single fastest way to see ROI. People searching “shooting range near me” look at your GBP first. Place your absolute best, high-end facility photos here immediately. They act as your digital security guard and receptionist.
2. The conversion engine: Update the hero banners on your website’s homepage and, crucially, your online booking system. Photos of happy, safe people drive confidence and lower booking abandonment rates.
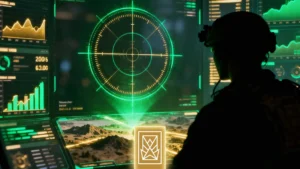
3. Measuring success: How do you know the new photos are working? Track three things:
- Time on Page: People spend longer looking at great visual content.
- Bounce Rate: Better first impressions keep people from instantly leaving your site.
- Booking Conversion Rate: The percentage of visitors who become paying customers.
If you don’t have the time or technical expertise to manage this deployment and tracking, remember that photography is just one element of a cohesive marketing strategy. We are here to ensure your high-end visuals are perfectly integrated with your SEO, website design, and lead generation efforts.
Ready to stop shooting in the dark and hit the bullseye on your marketing? Contact us today.
Frequently Asked Questions – Firearm photography
Got a question? We have the answer!
Why is professional firearm photography a strategic market positioning tool?
Your images are the first thing a visitor sees, and they instantly define your brand. High-end photos justify premium pricing and attract the high-value, experience-seeking customer, while poor photos relegate you to the discount bin.
What is the main problem with standard side-on catalogue photos of firearms?
They are flat, boring, and fail to communicate the thrill or context of the range. Technically, they lead to costly, pixel-by-pixel “cut-out” editing because of lighting inconsistencies and reflections (e.g., green screen light spill).
What is the Solution Prime Concept for high-end firearm photography?
Our method uses a simplified, highly mobile setup (DSLR and a single LED light) on-site. We suspend the weapon and use light painting with multiple exposures to capture dynamic perspective and perfect detail, resulting in a flawless transparent background asset for graphic design.
Why can’t I just use my phone to take the Trophy Shot of my firing lane?
While phone photos are great for social media, they lack the high native resolution and RAW file data needed for large-scale print, website hero banners, and detailed post-production. A professional camera (DSLR/MILC) is required for those high-value assets.
What is the most crucial preparation step before photographing my facility?
Operational Readiness. This means ensuring the range is perfectly clean, tidy, and organised. You must take out the bins/trash, straighten equipment, and eliminate clutter to communicate an impeccable environment and high service standard.
How do I legally take photos of my customers for marketing purposes (GDPR)?
You must kindly ask each guest for explicit, voluntary consent before taking their photo, even if you have a general waiver. For maximum flexibility, also capture shots where the person is not recognisable (e.g., focusing on the hands or the firearm from behind).
What are the three non-negotiable safety rules for any action photo?
Every image used must be rigorously checked for correct muzzle direction (always downrange), safety equipment (PPE) visibly worn, and correct finger placement (off the trigger) unless actively shooting.
What is the 4×3 Rule for internal facility photography?
To ensure comprehensive coverage, you must shoot from all four corners of every room, capturing three perspectives from each corner: Frog (low), Eye-Height (natural), and Tall-Height (operational).
What is the single fastest way to see a return on my photography investment?
Uploading your absolute best, high-end facility and experience photos immediately to your Google Business Profile (GBP). This is your digital shop window for people searching shooting range near me.
How do I know if my new range photos are working?
You measure the success through key website metrics: an increase in Time on Page (people are spending longer looking at the content), a decrease in Bounce Rate (better first impressions), and, most importantly, an increase in the Booking Conversion Rate.